Originally published on Medium: Scaling IoT fleets: Secure Reverse SSH into Yocto for Automated Field Deployment
Overview
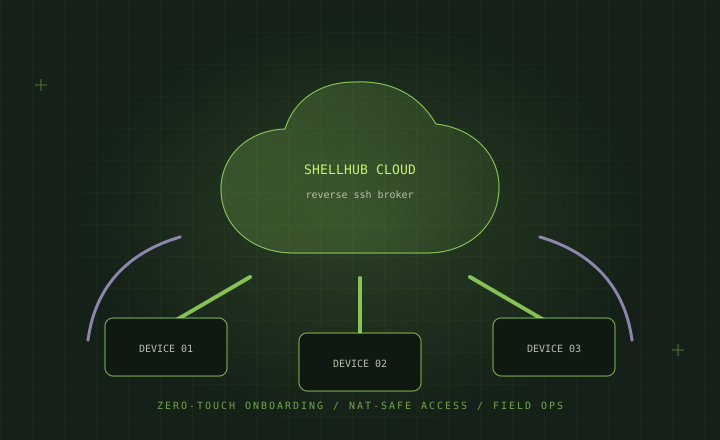
Managing and remotely accessing large-scale IoT deployments is one of the biggest operational challenges in embedded Linux systems. Devices are often deployed behind NATs, firewalls, or cellular networks, making direct SSH access difficult and insecure.
This guide demonstrates how to integrate ShellHub free and open-source tool with Yocto to enable secure reverse SSH access for field devices without requiring port forwarding or public IP addresses.
Unlike traditional container-based deployments, Yocto systems typically use lightweight native binaries. In this setup, the shellhub-agent runs as a native systemd-managed service, making it ideal for resource-constrained embedded devices.
Why Yocto Integration Matters
In large-scale IoT deployments, remote access solutions must be lightweight, secure, and fully automated. This is where integrating ShellHub directly into Yocto Linux becomes extremely valuable.
Unlike traditional desktop or server environments, embedded devices built with Yocto are highly customized and resource-constrained. Production devices often run minimal root filesystems with strict storage, memory, and security requirements. Installing heavyweight remote management stacks or manually configuring SSH access on each device is not practical at scale.
By integrating ShellHub directly into the Yocto build process:
The shellhub-agent becomes part of the firmware image itself
Devices automatically register during the first boot
No manual installation steps are required in the field
Remote access works even behind NATs and firewalls
Fleet onboarding becomes fully automated
This approach enables a true zero-touch provisioning workflow, where devices can be manufactured, flashed, shipped, and deployed without requiring engineering intervention during installation.
By the end of this tutorial, you will learn how to:
Integrate ShellHub into a Yocto image
Enable secure remote SSH access
Implement zero-touch provisioning
Automatically register field devices
Scale deployments across large IoT fleets
1. Introduction
We can use ShellHub in below environments:
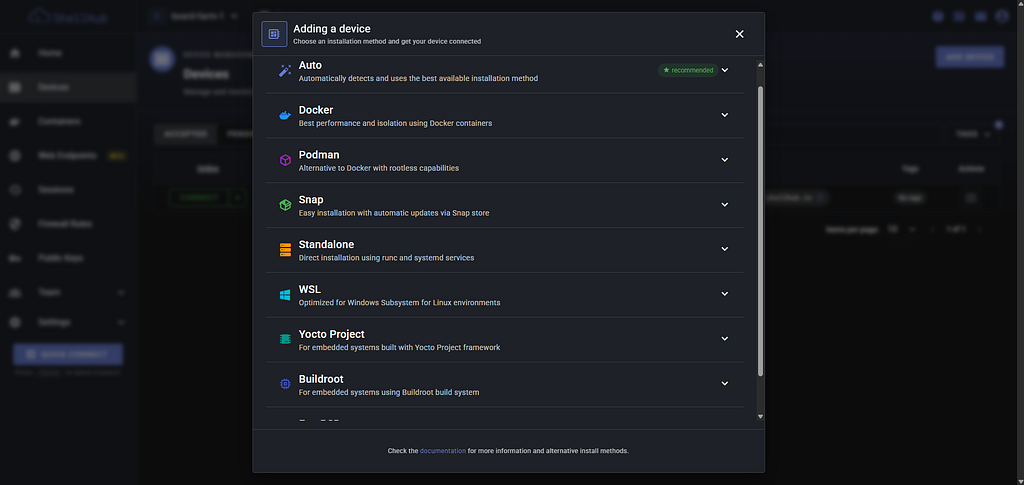
I will demonstrate shellhub integration in Yocto.
After creating a ShellHub account and logging in, you will see the screen below-
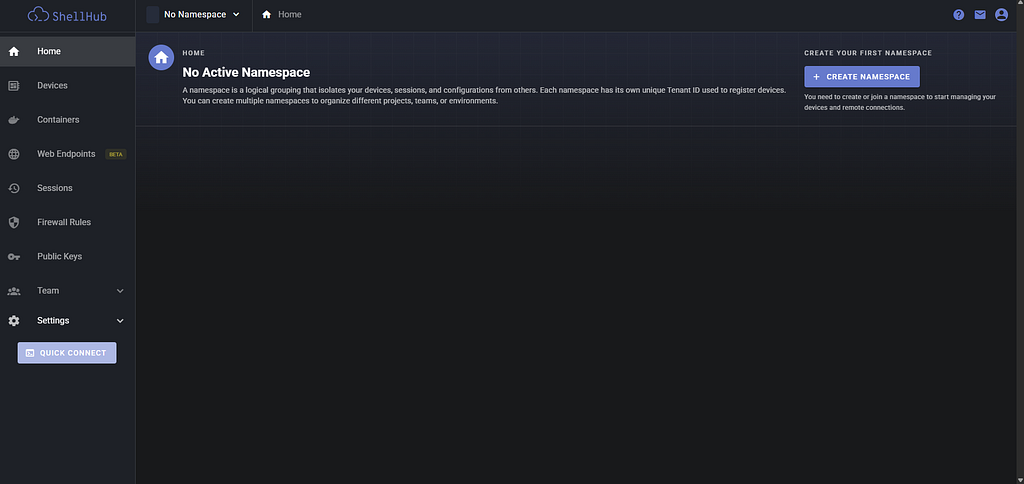
Create a Namespace
Navigate to the dashboard
Click Create Namespace
Enter a unique namespace name
Continue to device onboarding
Click on “Create namespace”.
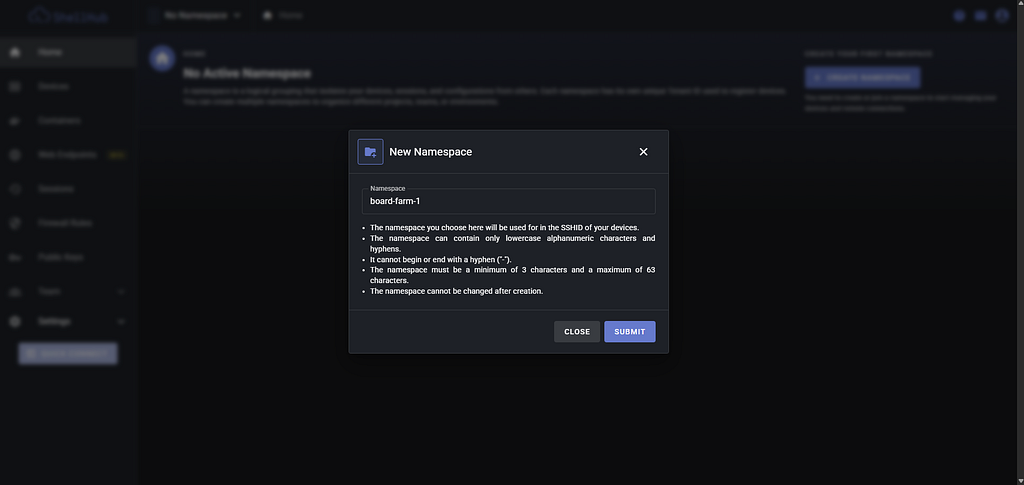
Once your new workspace is created, it will give instructions to add a new device to this workspace.
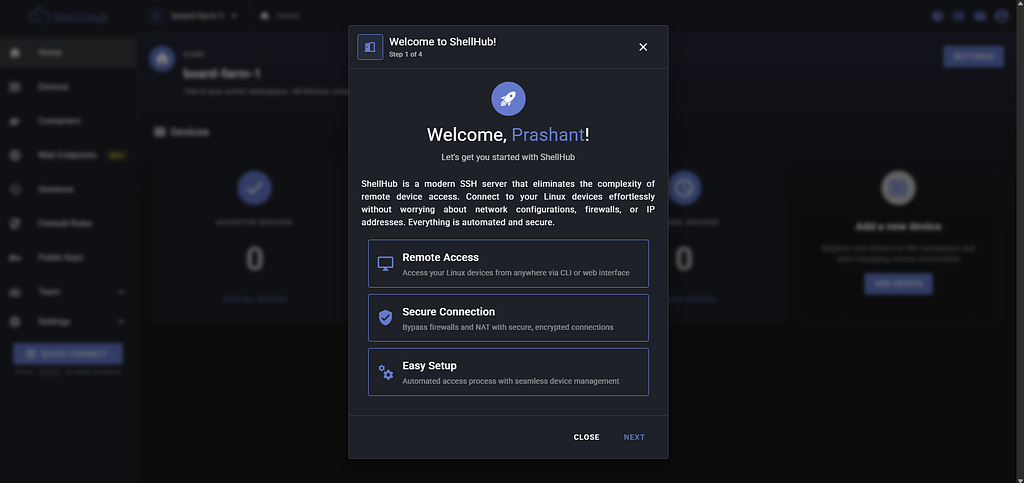
Retrieve the Organization Tenant ID
This step is critical because the Tenant ID uniquely identifies your organization’s workspace, and you can get that in the curl command-
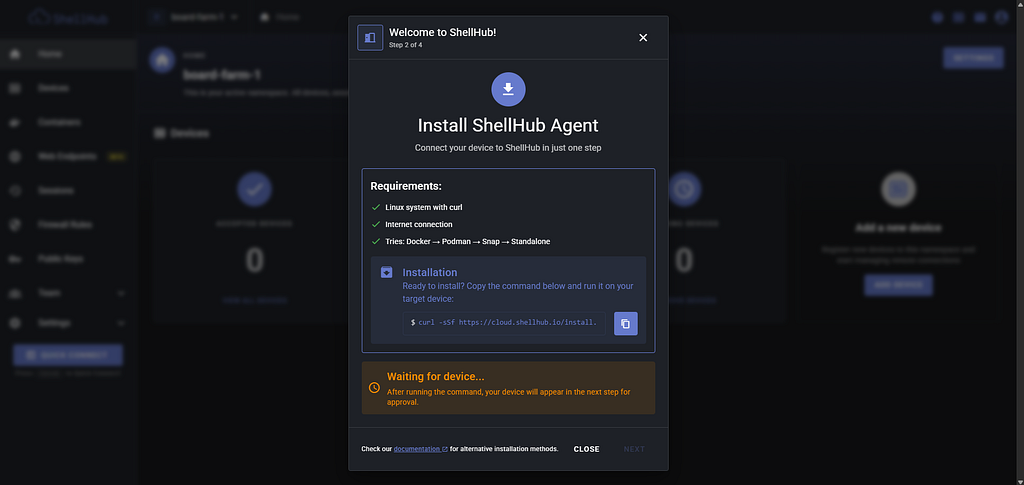
If you copy the above command and execute it on the device, it will install the ShellHub Docker container. But for production or field devices, I don’t want to run such a command manually for every device.
2. Architecture Overview
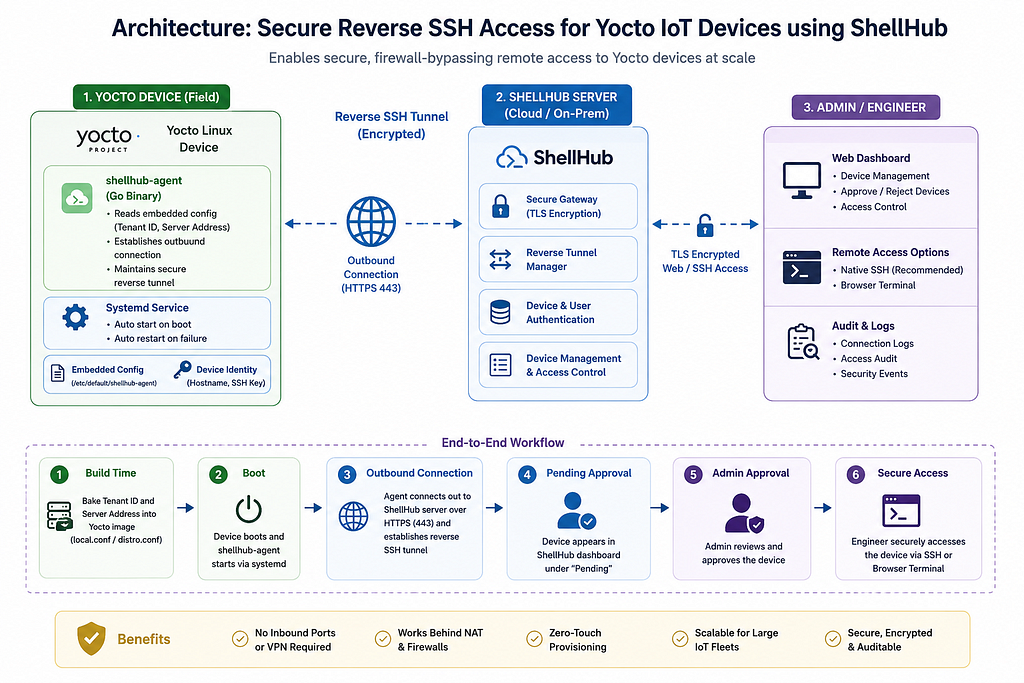
Zero-Touch Provisioning in Yocto
To achieve a zero-touch provisioning model, you must bake your credentials into the root filesystem during compilation. This way, as soon as a newly flashed device boots up and connects to the internet, the device automatically registers itself with the ShellHub dashboard
You must get your Tenant ID before you run bitbake. Because it is an immutable string linked to your corporate space, it remains the same across your entire fleet of physical devices.
define variables either in distro.conf or local.conf-
# Inject production Namespace token
SHELLHUB_TENANT_ID = "xxxxxxxxxxxxxxxxxxxxxxxxxxxxxxxxxx"
# Direct the agent to your custom AWS EC2 instance (Omit if using ShellHub Cloud)
SHELLHUB_SERVER_ADDRESS = "http://your-ec2-public-ip-or-domain"
When the device boots and connects to the network
During boot, the shellhub-agent automatically:
Reads the embedded configuration
Establishes a secure outbound connection
Registers the device with the ShellHub server
Places the device into the Pending approval state
This approach enables true zero-touch provisioning for production IoT deployments.
Runtime Configuration via systemd
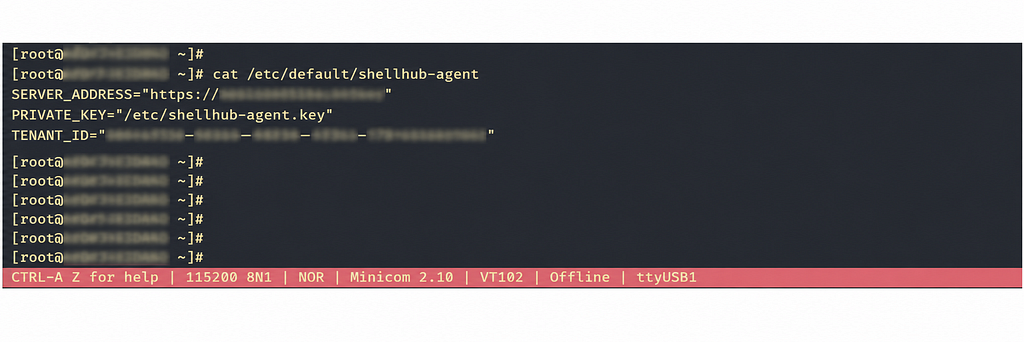
The meta-shellhub Yocto layer stores runtime configuration using a systemd environment file rather than a traditional configuration file.
You can verify the deployed configuration on the target device:
cat /etc/default/shellhub-agent
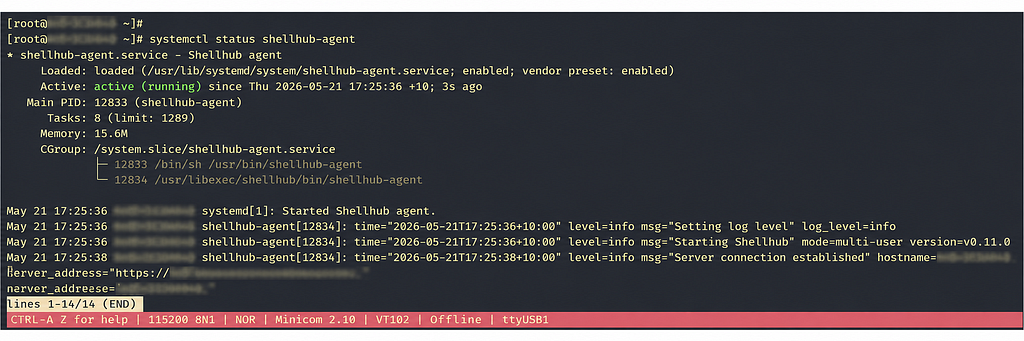
The shellhub-agent service starts automatically during boot and registers the device with the configured namespace.
systemd service file takes care of adding this device into our workspace, for which the above tenant ID is generated, as I mentioned earlier
So when this service starts, it will register the current device into the “board-farm-1” workspace.
Authorize the Device in the Dashboard
For security reasons, newly registered devices initially appear in a quarantined Pending state.
To authorize a device:
Open the ShellHub dashboard
Navigate to Devices -> Pending
Locate the target device
Click Accept
After approval, ShellHub generates a unique SSH identifier (SSHID) for the device.
In my case, I can see the device connection confirmation request on the ShellHub web UI as below:
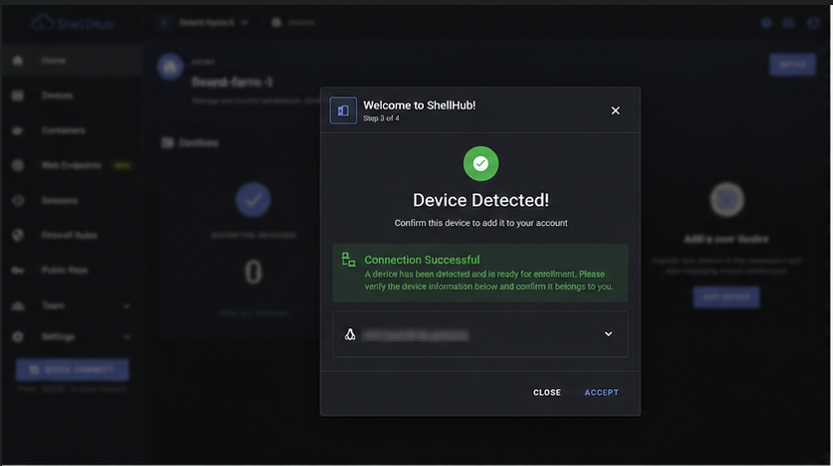
- Click the Accept button. The device will transition to the Device List tab and generate a unique SSHID.
Once you accept the request, you’re all set
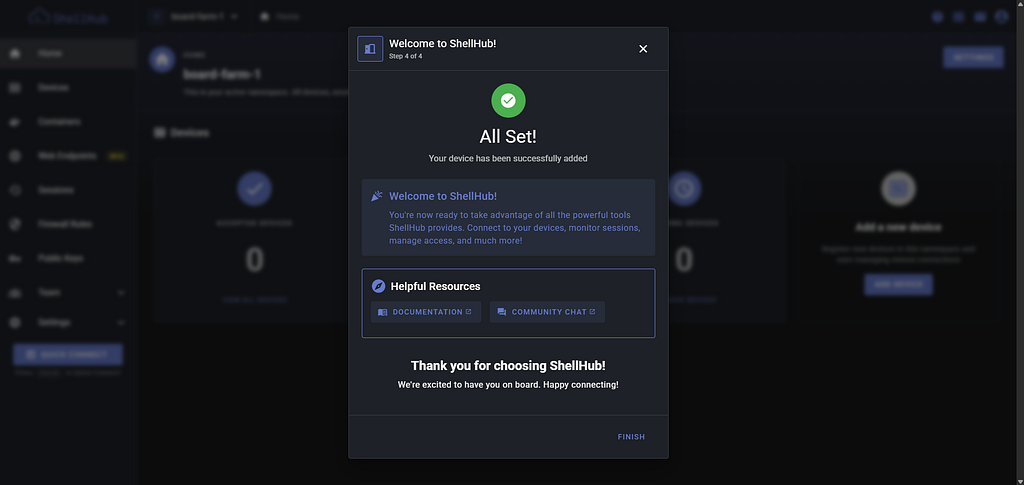
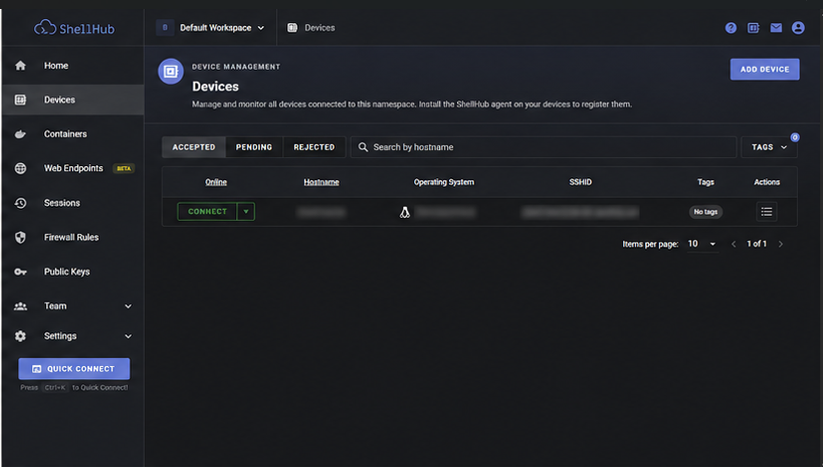
We can see our device has been successfully added to the device tab-
Handling Fleet Approvals (Mass Scaling)
You can deploy a small Python or Bash cron script on your AWS EC2 host to query and approve pending connections automatically via a loop:
In large manufacturing or deployment environments, even with zero-touch configuration, ShellHub defaults to putting new devices in a quarantined “Pending” status for security. And manually approving hundreds of devices is impractical.
ShellHub provides REST APIs that allow automatic device approval workflows.
You can run a lightweight Bash or Python automation script on your management server to periodically approve newly discovered devices.
#!/bin/bash

# Auto-approve script run via Cron on your EC2 Instance
SERVER="http://localhost"
API_TOKEN="your_namespace_api_token" # Generated in Dashboard Settings
# Fetch list of pending devices
PENDING_DEVICES=$(curl -s -H "Authorization: Bearer $API_TOKEN" "$SERVER/api/devices?status=pending")
# Loop through and accept each device ID
for uid in $(echo "$PENDING_DEVICES" | jq -r '.[].uid'); do
    curl -s -X PUT -H "Authorization: Bearer $API_TOKEN" "$SERVER/api/devices/$uid/accept"
    echo "Automatically approved device UID: $uid"
done
Remotely Accessing the Field Device
Once authorized, you can initiate a secure remote session from any external machine without configuring firewalls, port forwarding, or static public IPs.
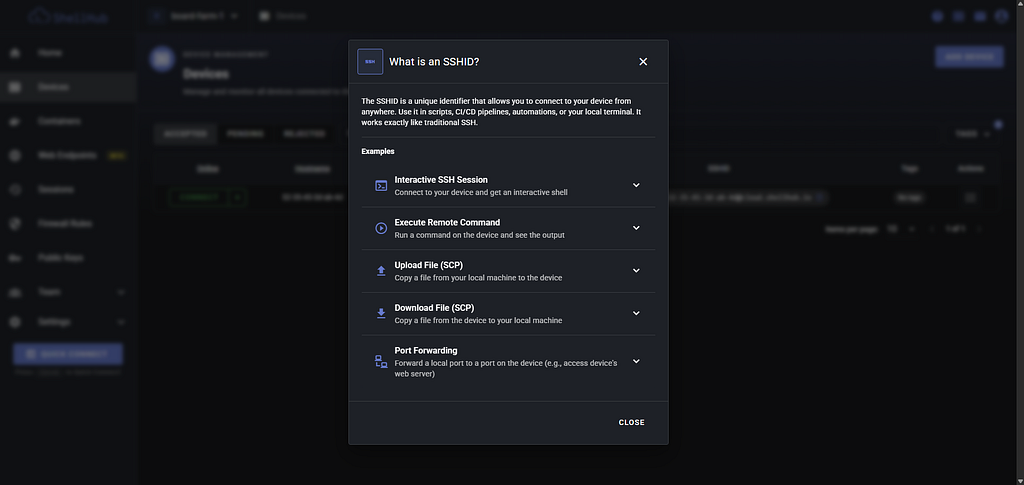
Once a device is authorized, ShellHub supports multiple access methods.
If you click on the dropdown icon beside the CONNECT button, you will see 2 options
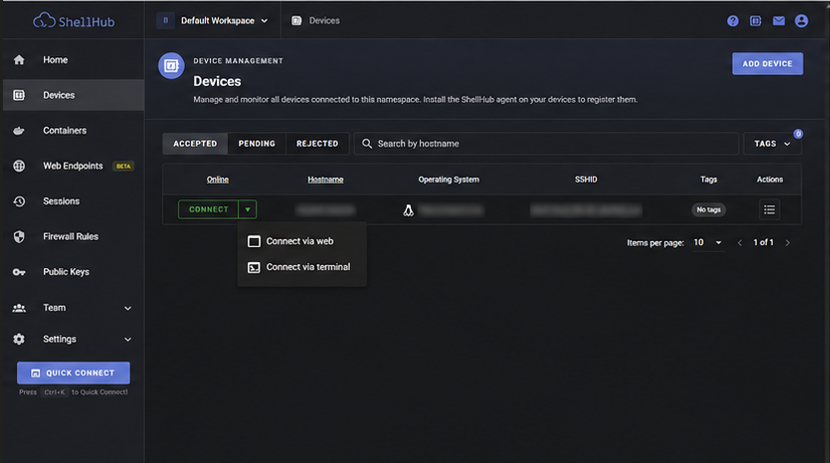
Option A: Native Terminal Connection (Recommended)
Open your local desktop terminal and target the device using standard OpenSSH, appending your custom gateway port if using a self-hosted server:
ssh <device_os_user>@<unique_sshid> -p <gateway_port>
Example (Cloud):
ssh root@namespace.<hostname>@cloud.shellhub.ioExample (Self-Hosted):
ssh root@namespace.<hostname>@://mycompany.com -p 2222
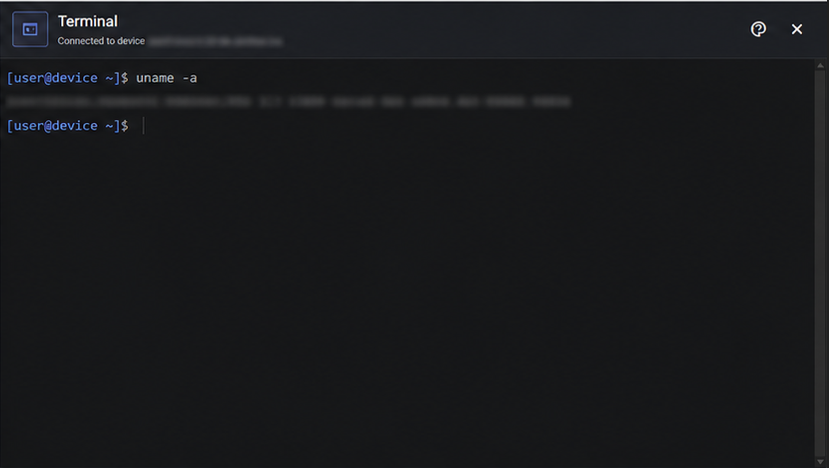
Option B: In-Browser Web Console
ShellHub also provides a web-based terminal accessible directly from the dashboard.
This is useful for:
Quick diagnostics
Emergency access
Browser-only environments
Use the device’s Linux credentials when prompted.
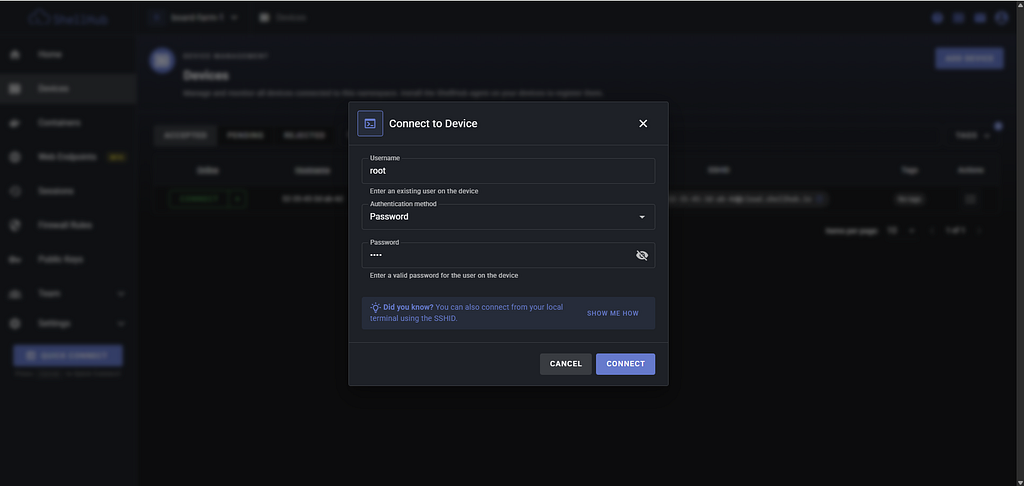
Hola, your SSH connection is established
Conclusion
By integrating ShellHub directly into Yocto Linux images, organizations can securely manage large-scale IoT fleets without relying on VPNs, public IP addresses, or complex firewall configurations.
This approach enables:
Secure reverse SSH access
Zero-touch provisioning
Fleet-scale onboarding
Centralized device management
Automated deployment workflows
For embedded Linux teams deploying production IoT systems, this architecture significantly simplifies remote maintenance and operational scalability.
Stay tuned for the next part of hosting the shellhub server into your premises if you really care about device vital info shared with shellhub cloud